Building a custom MSI installer for Windows
- 05 Oct 2024
- 2 Minutes to read
- Print
- DarkLight
Building a custom MSI installer for Windows
- Updated on 05 Oct 2024
- 2 Minutes to read
- Print
- DarkLight
Article summary
Did you find this summary helpful?
Thank you for your feedback!
You can white label the LimaCharlie installer for Windows by using an MSI wrapper. By going through this process you can not only brand the installer to show your name / details, but you can also make installation of the Sensor easier for end users. We have provided instructions below on how to use a 3rd party tool called exemsi.
Prerequisites
An MSI wrapper application, such as the exemsi application referenced in the instructions below
A digital code signing certificate (optional, but highly recommended)
Without a digital code signing certificate the installer will show a warning that it is from an unknown publisher.
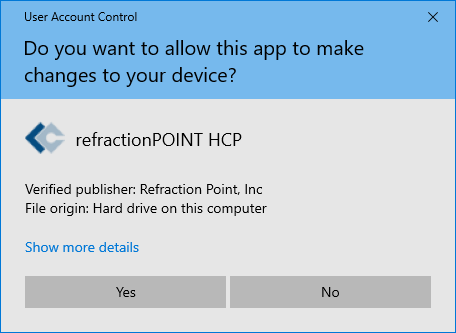
- vs - 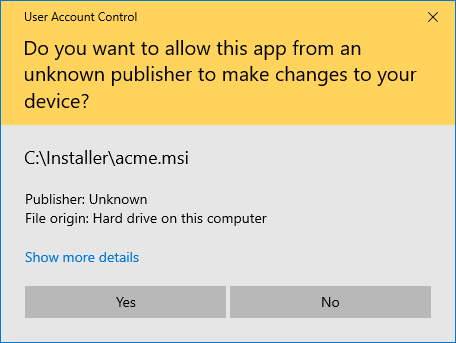
Instructions
Download the LimaCharlie sensor EXE
Download the MSI Wrapper application from exemsi.com
Install the exemsi application on your computer
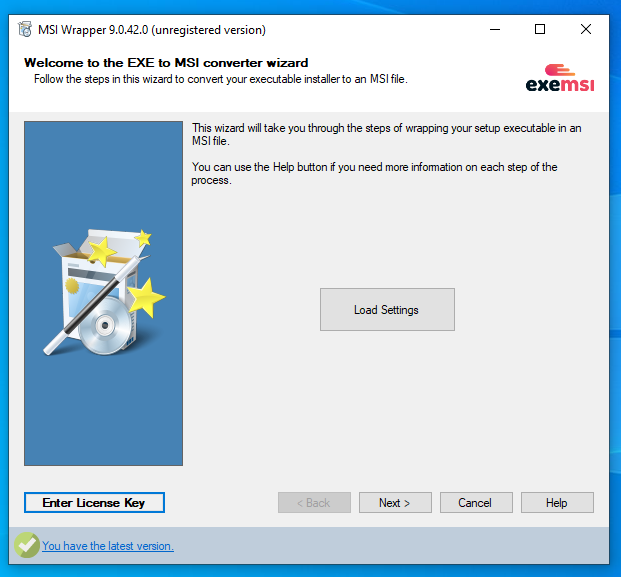
Launch the exemsi application and go through the EXE to MSI Converter Wizard steps as shown below:
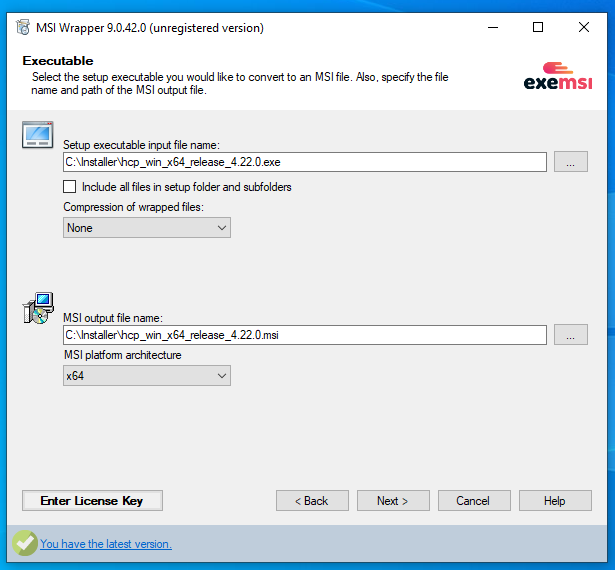
Select the executable
Set the
Setup executable input file nameto be the LimaCharlie EXE that you'd downloadedOptionally, specify a MSI output file name of your choosing (e.g. Acme_Installer.msi)
Set the MSI platform architecture to match the executable (i.e. x86 for 32-bit, and x64 for 64-bit)
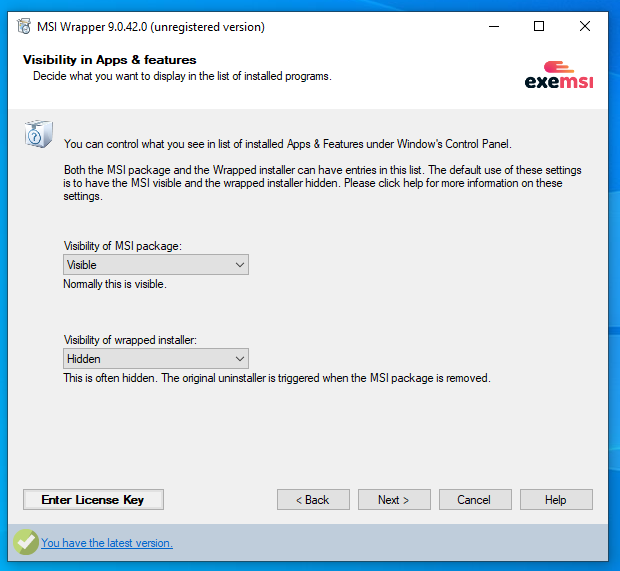
Set the visibility in Apps & features
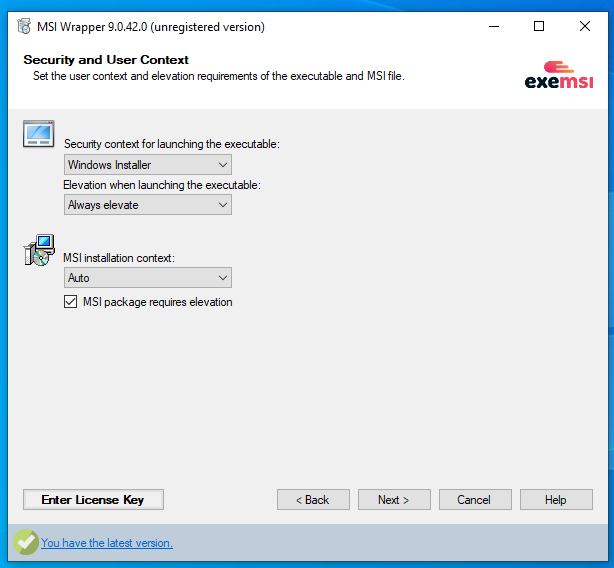
Set the Security and User Context
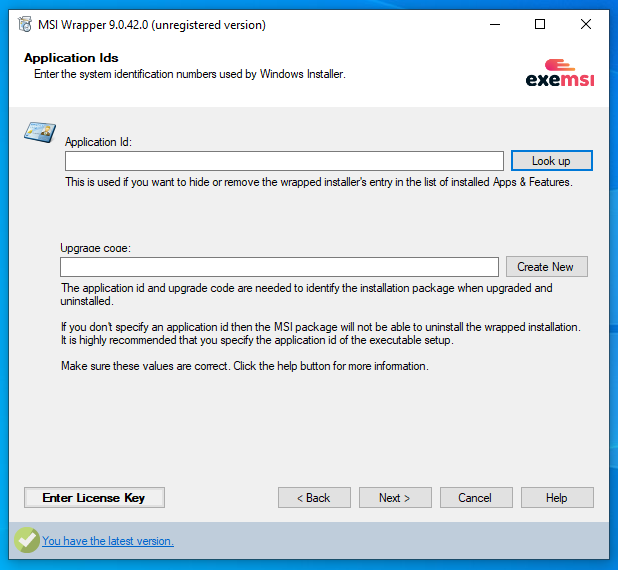
Specify Application IDs
In the Upgrade Code section, click the "Create New" button next to generate a code. This will be used to allow uninstallation.
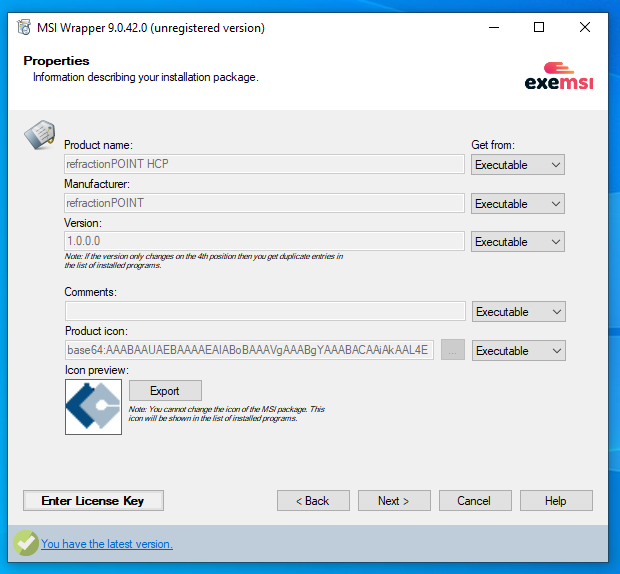
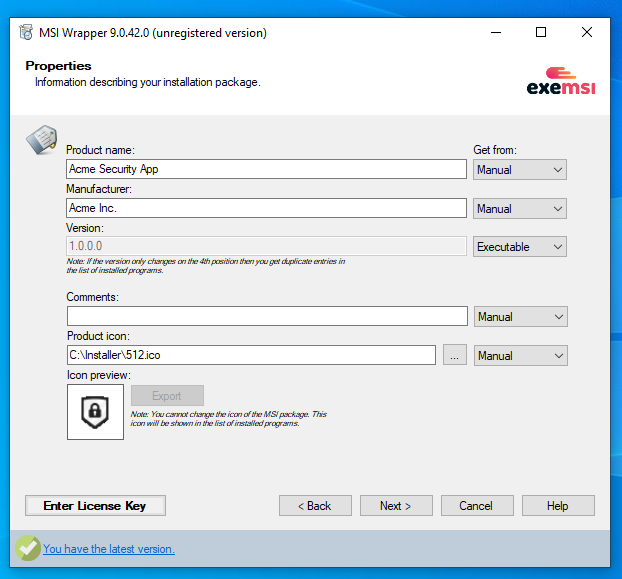
Specify Properties (optional: customize options here to have the installer show your brand)
You can change the drop-down menu of each line item from "Executable" to "Manual" in order to set your own values for the Product Name, Manufacturer, Version, Comments, and Product icon
Original
Customized
Specify More Properties (optional)

Specify Parameters
In the "Install arguments" box, enter "-i", add a space and then enter your installation key
-i YOUR_INSTALLATION_KEY_GOES_HERE
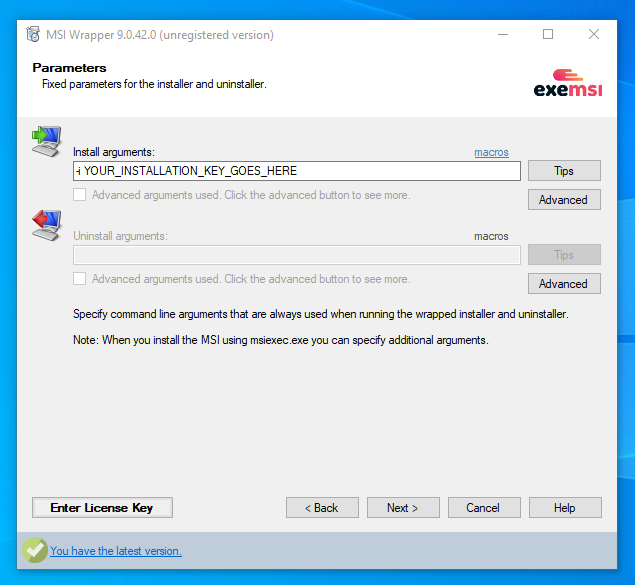
To provide the option to uninstall, set the Uninstall argument to "-c" (note that you do not need to specify your Installation Key for uninstallation).
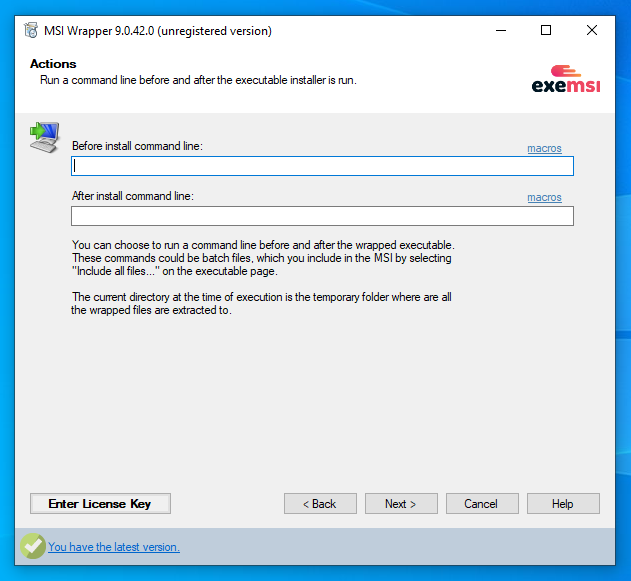
Actions
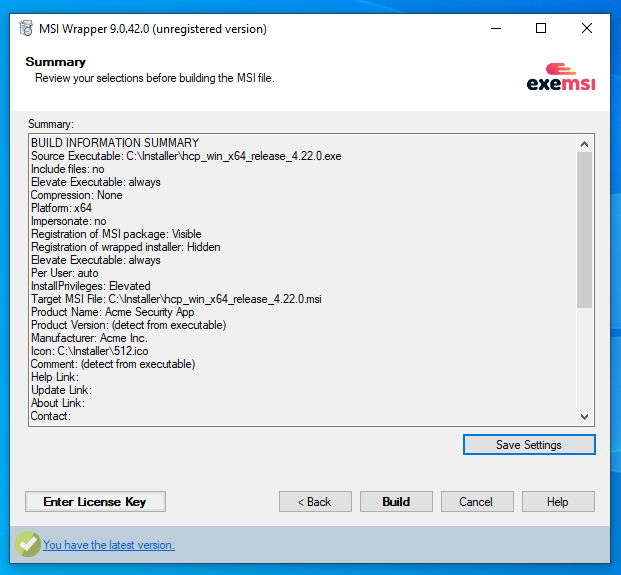
Summary
Status
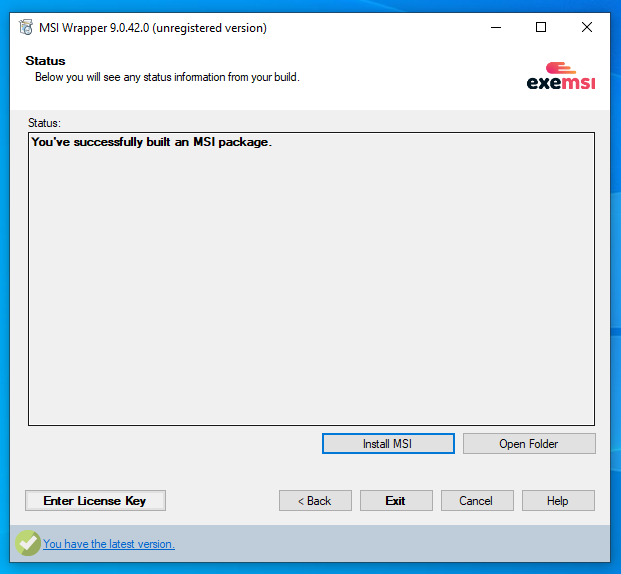
Once you have created the MSI package you should sign it using your digital signature. You can learn more about signing the MSI on the exemsi website.
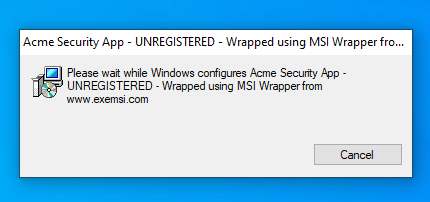
Experience when running the MSI
When installing the application using the MSI you'll see your application name in the title bar.
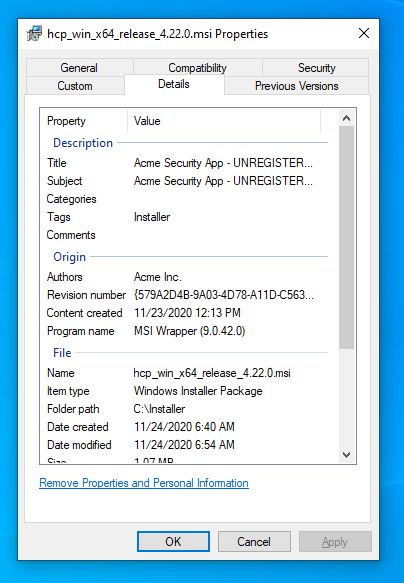
When inspecting the properties of the MSI you'll see the details you'd specified.
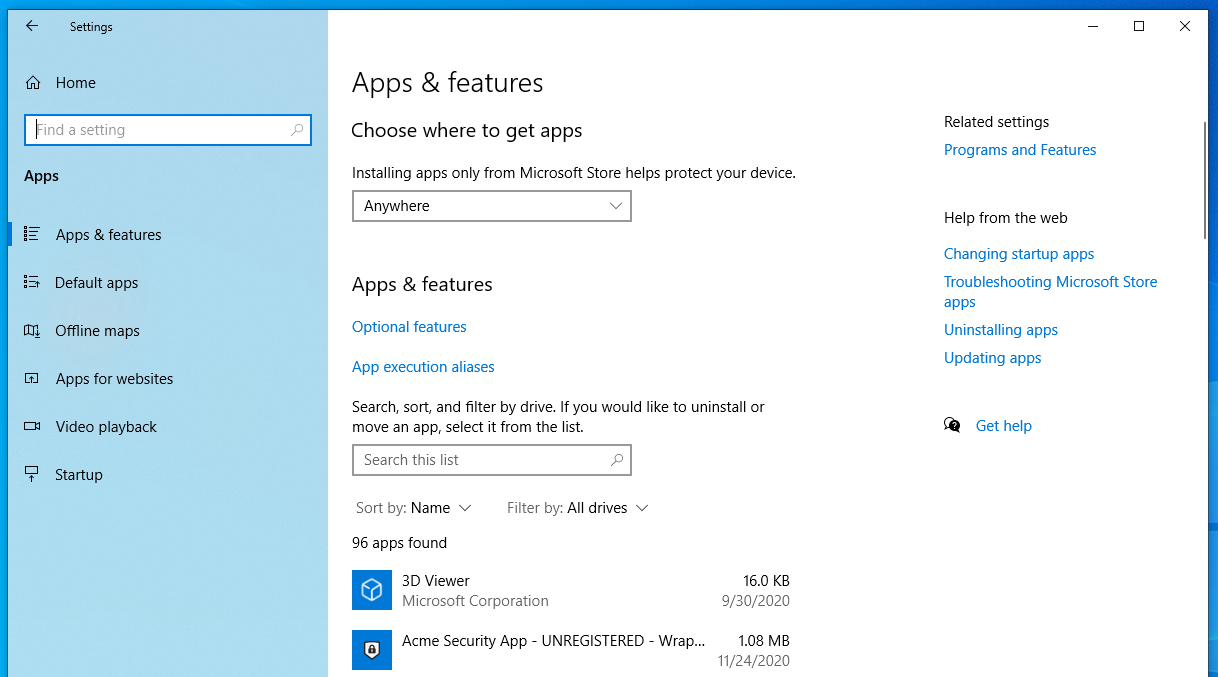
In the Apps & Features section of Windows, you'll see the application listed under your name.
Was this article helpful?