Amazon S3
Output events and detections to an Amazon S3 bucket.
If you have your own visualization stack, or you just need the data archived, you can output directly to Amazon S3. This way you don't need any infrastructure.
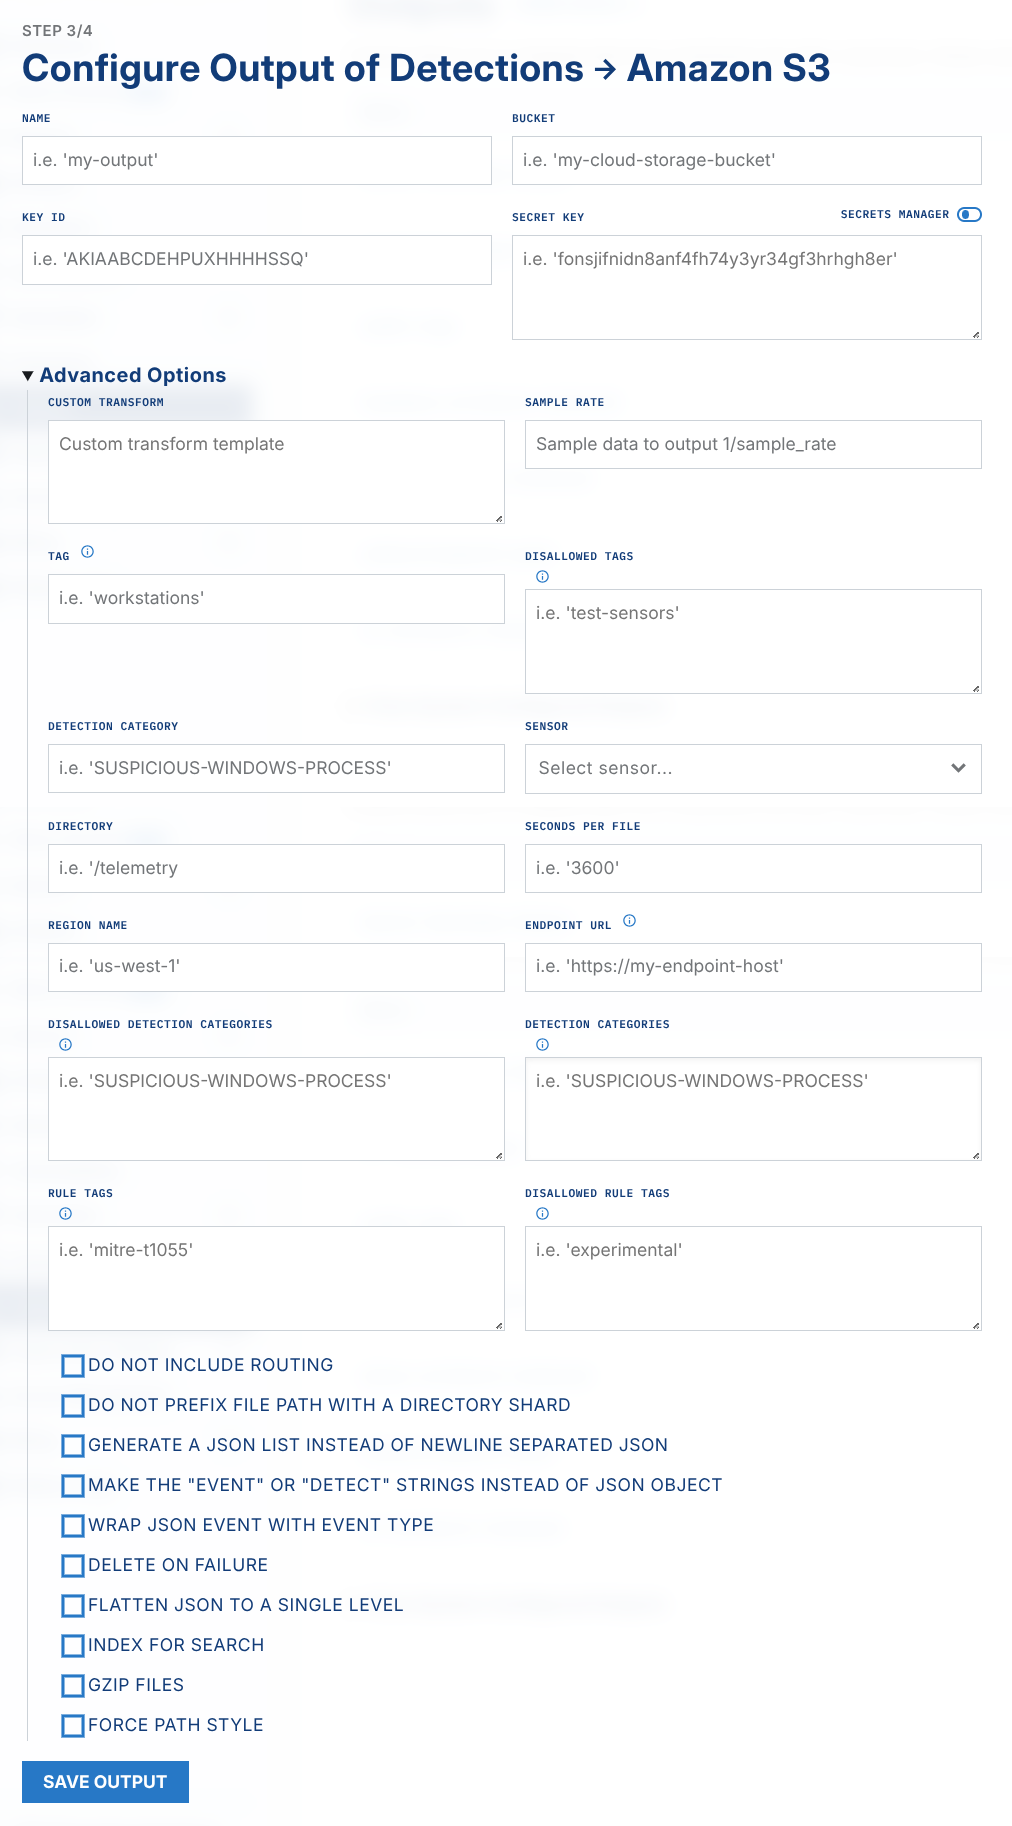
bucket: the path to the AWS S3 bucket.key_id: the id of the AWS auth key.secret_key: the AWS secret key to auth with.sec_per_file: the number of seconds after which a file is cut and uploaded (default 120, maximum 3600).is_compression: if set to "true", data will be gzipped before upload.is_indexing: if set to "true", files are written under a time-based directory structure (year/month/day/hour/) instead of flat files with random names. See File organization below.region_name: the region name of the bucket, it is recommended to set it, though not always required.endpoint_url: optionally specify a custom endpoint URL, usually used with region_name to output to S3-compatible 3rd party services.dir: the directory prefixis_no_sharding: do not add a shard directory at the root of the files generated.
Example:
bucket: my-bucket-name
key_id: AKIAABCDEHPUXHHHHSSQ
secret_key: fonsjifnidn8anf4fh74y3yr34gf3hrhgh8er
is_indexing: "true"
is_no_sharding: "true"
is_compression: "true"
File Organization
By default, each batch of data is uploaded as a flat file with a random (UUID) name at the root of the bucket (or under dir if set). File names carry no ordering, so this mode is best suited for pipelines that list and consume all new objects regardless of name.
To organize files by date and time, set is_indexing to "true". Files are then written under a time-based directory structure:
For example: logs/1/2026/7/7/13/d1b2c3d4-e5f6-7890-abcd-ef1234567890_12.gz
- The timestamp components are in UTC and reflect when the batch was uploaded.
- Data files begin with a
dprefix. shardis a single hexadecimal character used to spread write load across key prefixes. If you prefer paths to start directly at the year, setis_no_shardingto"true".- Directory components are not zero-padded (July is
7, not07), so a plain lexical sort of object keys will not be strictly chronological; parse the path components numerically if ordering matters. - The frequency at which new files are created is controlled by
sec_per_file.
The is_compression flag, if on, will compress each file as a GZIP when uploaded (adding a .gz extension). It is recommended you enable is_compression.
AWS IAM Configuration
- Log in to AWS console and go to the IAM service.
- Click on
Usersfrom the menu. - Click
Create User, give it a name, and clickNext. - Click
Next, thenCreate User - Click on the user you just created and click on the
Security Credentialstab - Click
Create access key - Select
Otherand clickNext - Provide a description (optional) and click
Create access key - Take note of the "Access key", "Secret access key" and ARN name for the user (starts with "arn:", shown on the user summary screen).
AWS S3 Configuration
- Go to the S3 service.
- Click
Create bucket, enter a name and select a region. - Click
Create bucket - Click on your newly created bucket and click on the
Permissionstab - Select
Bucket policyand clickEdit - Input the policy in sample below where you replace the
<<USER_ARN>>with the ARN name of the user you created and the<<BUCKET_NAME>>with the name of the bucket you just created. - Click
Save Changes
Policy Sample
{
   "Version": "2012-10-17",
   "Statement": [
      {
         "Sid": "PermissionForObjectOperations",
         "Effect": "Allow",
         "Principal": {
            "AWS": "<<USER_ARN>>"
         },
         "Action": "s3:PutObject",
         "Resource": "arn:aws:s3:::<<BUCKET_NAME>>/*"
      }
   ]
}
LimaCharlie Configuration
- Back in the LimaCharlie GUI, in your organization view, click
OutputsandAdd Output - Select the stream you would like to send (events, detections, etc)
- Select the
Amazon S3destination - Give it a name, enter the bucket name, key_id, and secret_key you noted from AWS, and any other parameters you wish to configure
- Click
Save Output - After a minute, the data should start getting written to your bucket